-
Products
Services
Tools
Industry Specific
-
Solutions
By Business Type
By Business Function
By Industry
- Support
- Login
- Try it for free
To create a new D3K project in BizStats.AI, click Create New Project in the Projects page.
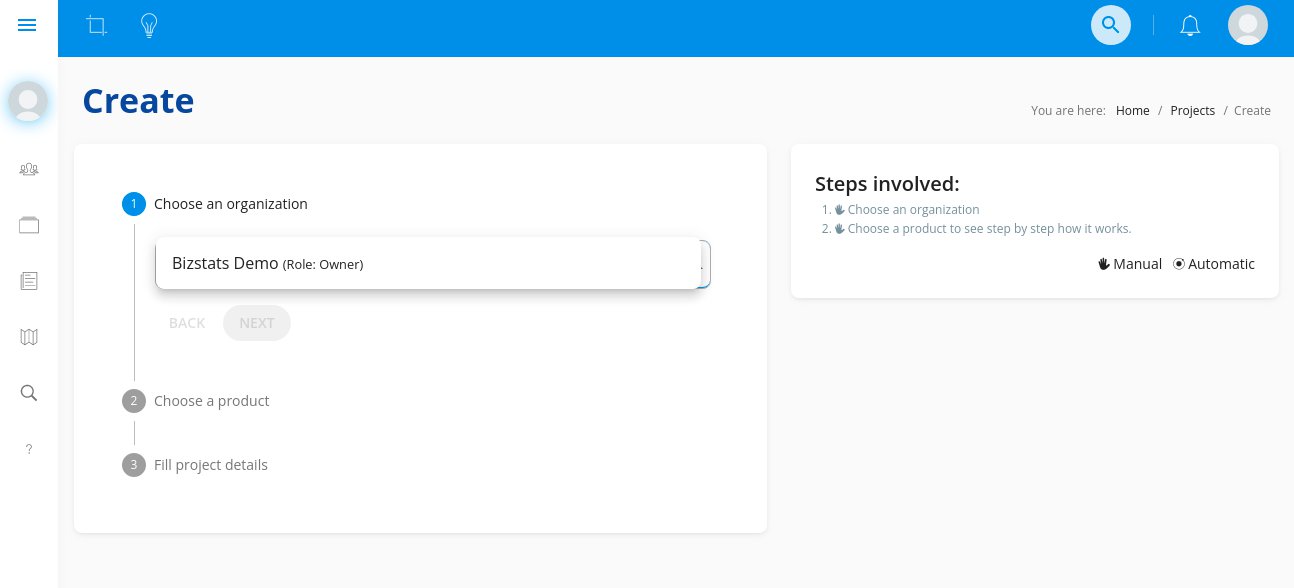
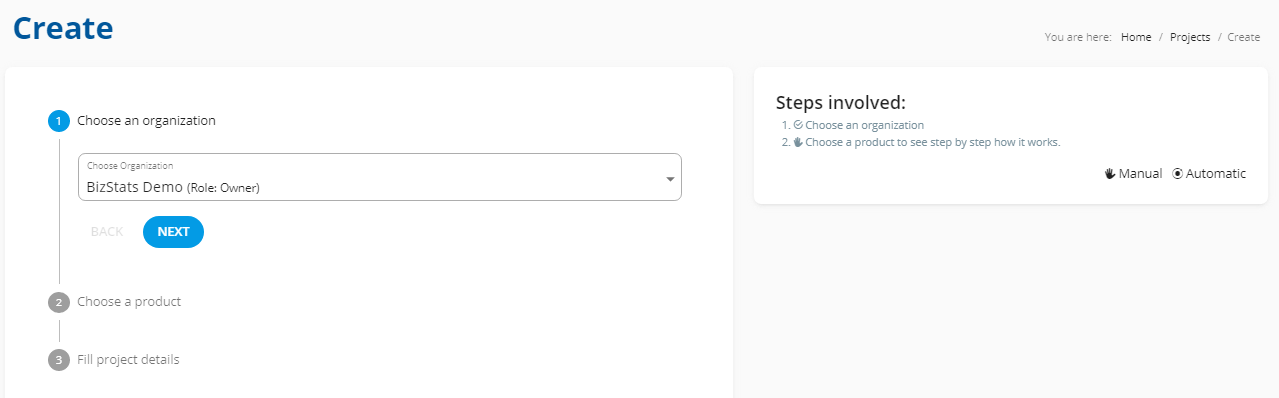
In the Create page, choose your organization name from the drop-down menu and click Next.
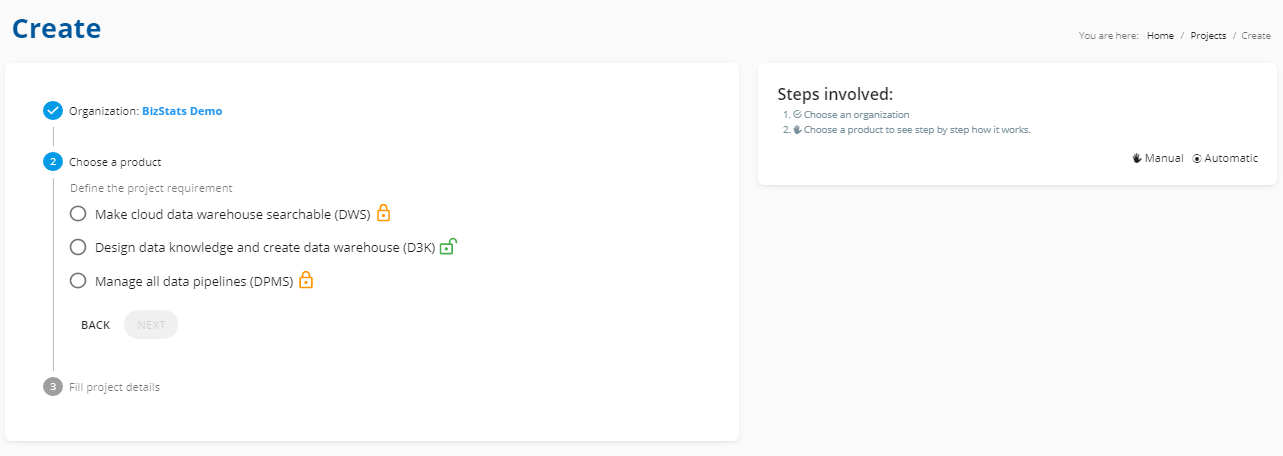
Then, choose the product as Design Data Knowledge and Create data warehouse (D3K) and click Next.
Fill in the project details by giving your project a name and description. Then, click Create.

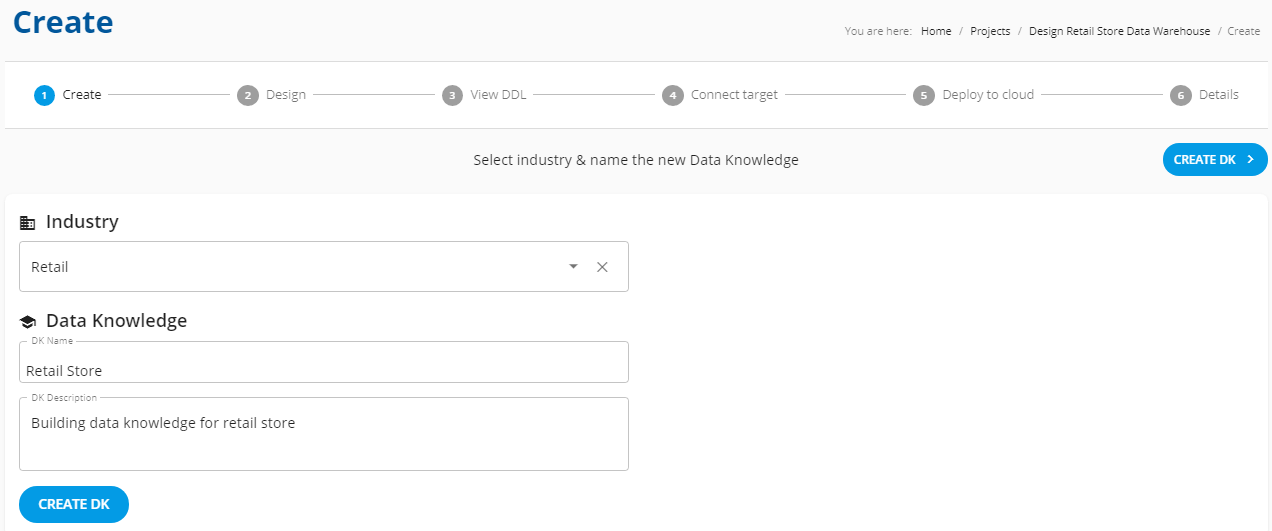
Choose relevant Industry from the drop down menu or create your own industry. Type a name and description for your Data-Knowledge and click Create DK.
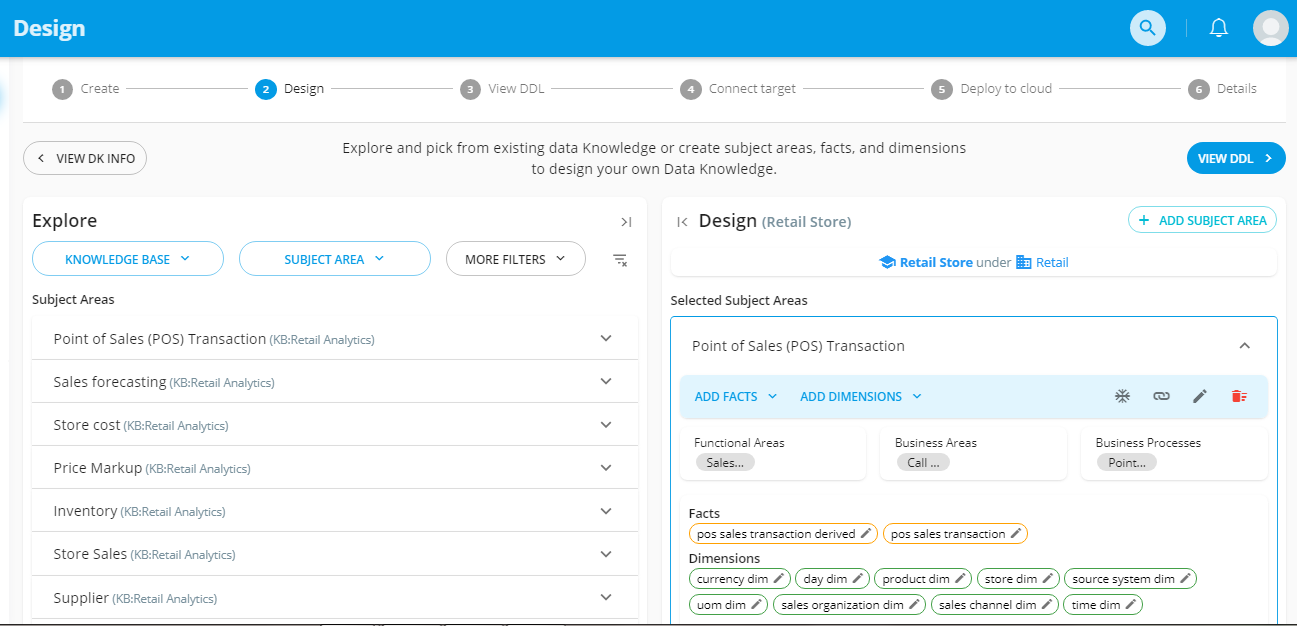
You’ll be directed to the Design page where you can customize your Data-Knowledge to your needs. D3K makes the designing process simple and easy for you. You can see the Explore area on the left and Design area on the right side of the page.
Simply go through the Explore area, you’ll find the existing set of predefined KBs with relevant Subject areas, Functional areas, Business areas and Business processes, Facts and Dimensions already mapped. Add them to design if it suits your needs, by clicking the Add to design icon. The selected fields will be automatically loaded to the Design area where you can edit / modify the terms as you see fit for your analysis.
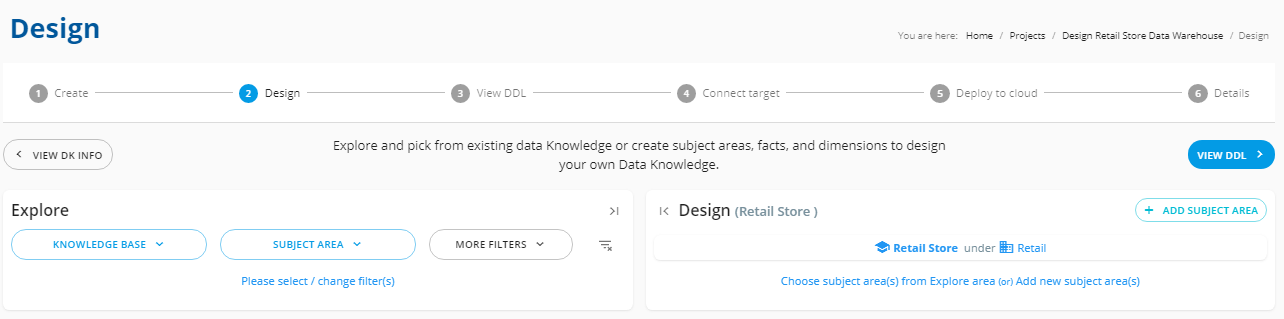
Or if you want to design a new Data-Knowledge from scratch, click Add Subject Area on the top right corner of the Design page, provide a new name, create your own Subject areas, relevant Facts and Dimensions.
Say you’re designing your Data-Knowledge from scratch. Go to Design area, you can create a Subject Area by providing a new name, add relevant Facts & Dimensions, you can also copy listed areas from existing KBs and add them to design here.
Step 7 a - Click Add Subject Area.
Step 7 b - In Add New Subject Area page, enter a new Subject Area name and description. You can select the Functional area, Business area and Business process from the drop down list or create your own using the plus icon. Once you have filled in the details, click Save.
Step 7 c - In Add Fact page, you can add new facts by providing Field name, Field type, Data type, Data Format, Description, etc and click Save.
Step 7 d - Similarly, in Add Dimensions page, you can add new / edit existing dimensions by providing Field name, Field type, Data type, Data Format, Description, etc and click Save. (Here, we have chosen existing dimensions to create our Data-Knowledge).
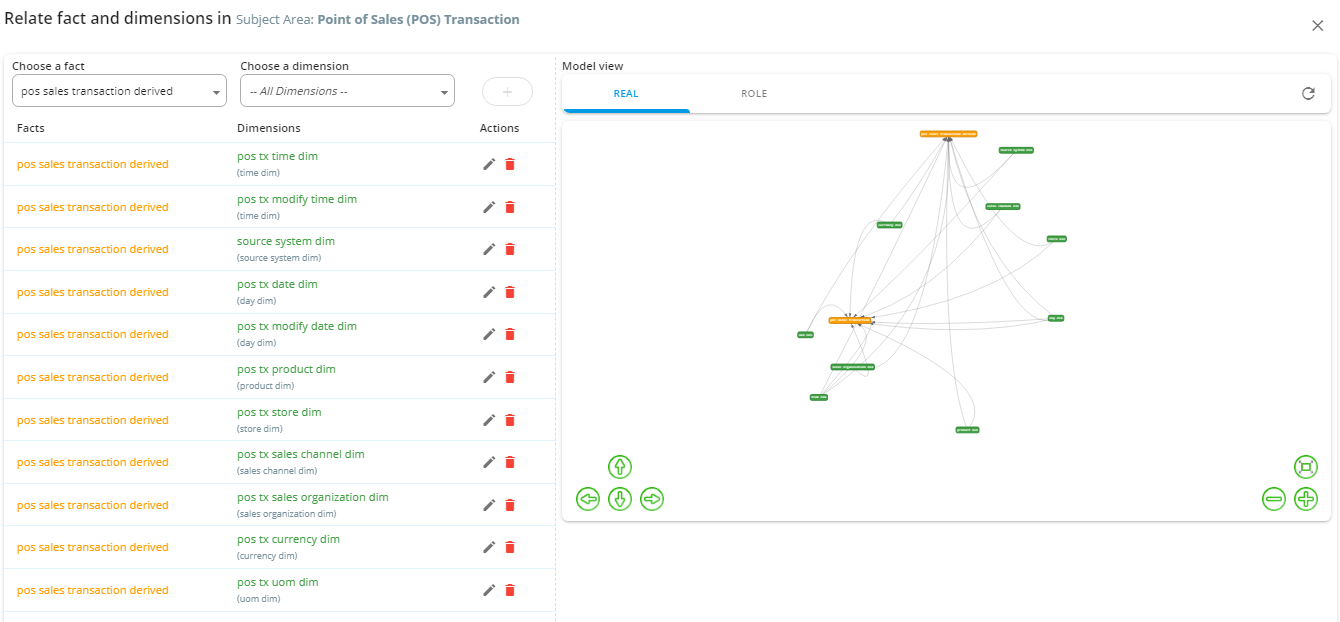
Once you have added the Facts and Dimensions successfully, you’ll be navigated to the Relate Facts and Dimensions page, where you can define the relation between Facts and Dimensions. Then click the Plus icon to relate them.
Step 8 a - A pop-up window will appear, enter the name of the Role Playing Dimension and click Save.
Similarly, you can add / remove / edit N number of Facts & Dimensions for your analysis and relate them.
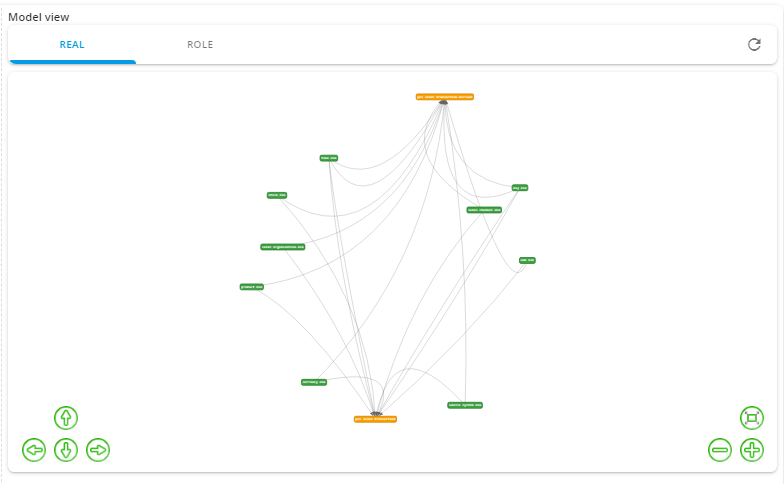
Now, you can view the Interactive model diagram of the designed Data-Knowledge. You can also view / edit / relate sources, model sources, If you want to proceed with this design, click Build Knowledge Base.
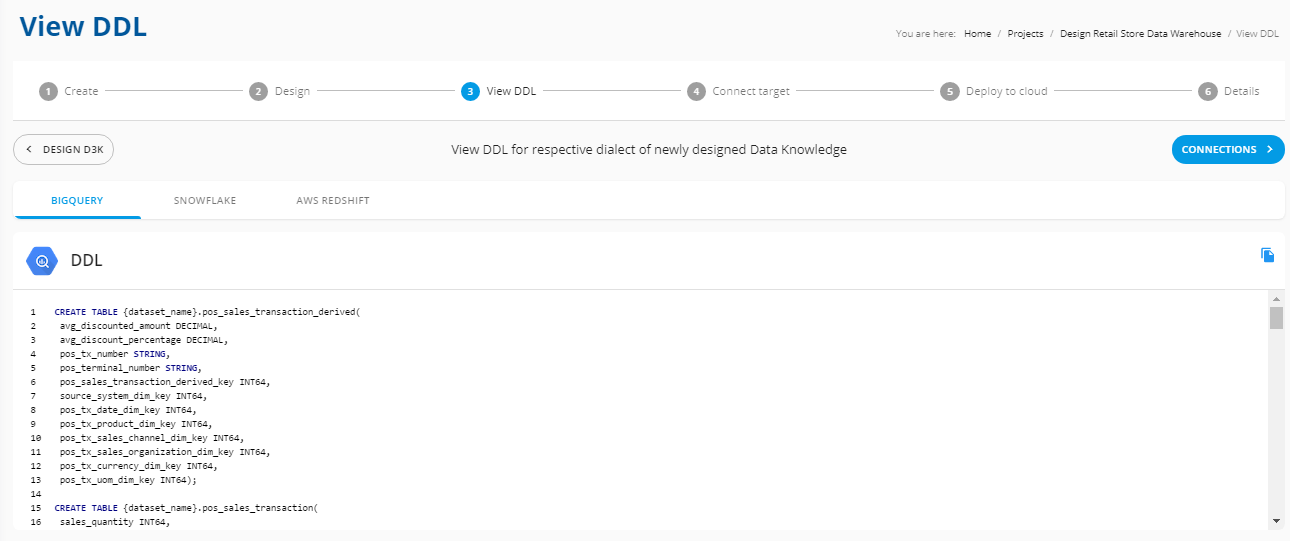
You will be directed to the View DDL page, where you will see the respective dialect of the designed Data-Knowledge. (Note: For each cloud, the dialect is slightly different because of their internal design). This is just for your reference. You can copy this DDL, run it in your cloud directly if you want to create your own Data warehouse without providing cloud information to us.
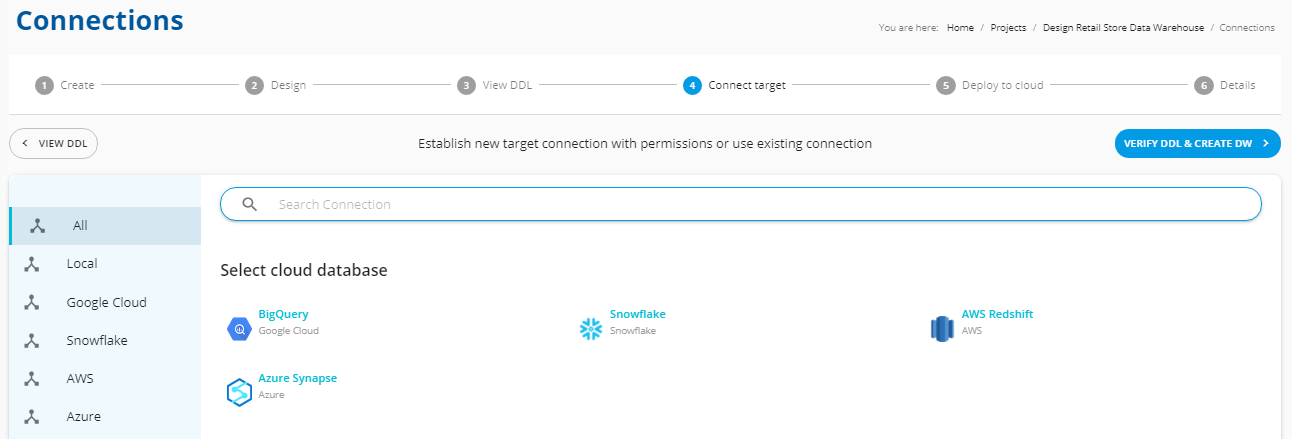
Now, it’s time to establish your Data Cloud connection. Click Connections.

Select your appropriate cloud data warehouse to create a connection. BizStats.AI currently supports the following data warehouses,
BigQuery
Snowflake
Redshift
Azure Synapse
To enable other data warehouses, contact BizStats.AI.https://www.bizstats.ai/contact/
Here, we have shown the connection to Snowflake data cloud as an example. Enter your authentication details and click Test. You will see the pop-up, “Test connection is successful for Snowflake”. Now, click Connect.
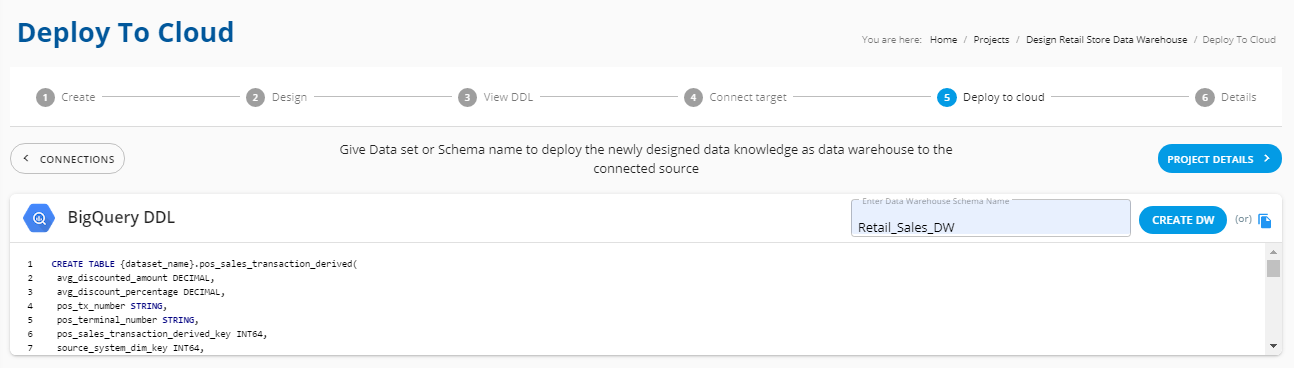
You will be directed to the Create Data Warehouse page. Your newly designed Data-Knowledge is ready for direct deployment in Snowflake cloud. To do that, enter a new Schema name (Dataset name in BigQuery), then click Create DW.
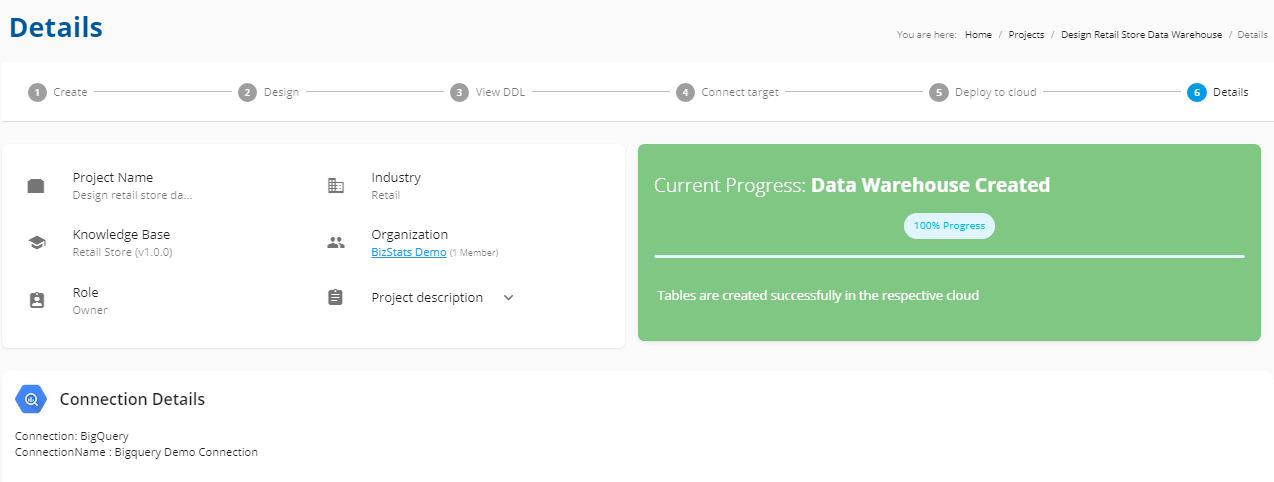
In the Details page, you will see the message “Data Warehouse Created - 100% Progress. Now you can view your Data warehouse tables in cloud”.